 How Professional Interior Painting Is Done From Start to Finish
A professional interior painting process involves much more than applying a new color to the walls. The quality of the finished room depends on careful planning, detailed surface preparation, compatible materials, controlled application, and a consistent order of work. At Expert Painting LLC, our interior painting services in Milwaukee follow a disciplined process designed to create smooth surfaces, clean transitions, uniform coverage, and durable results.
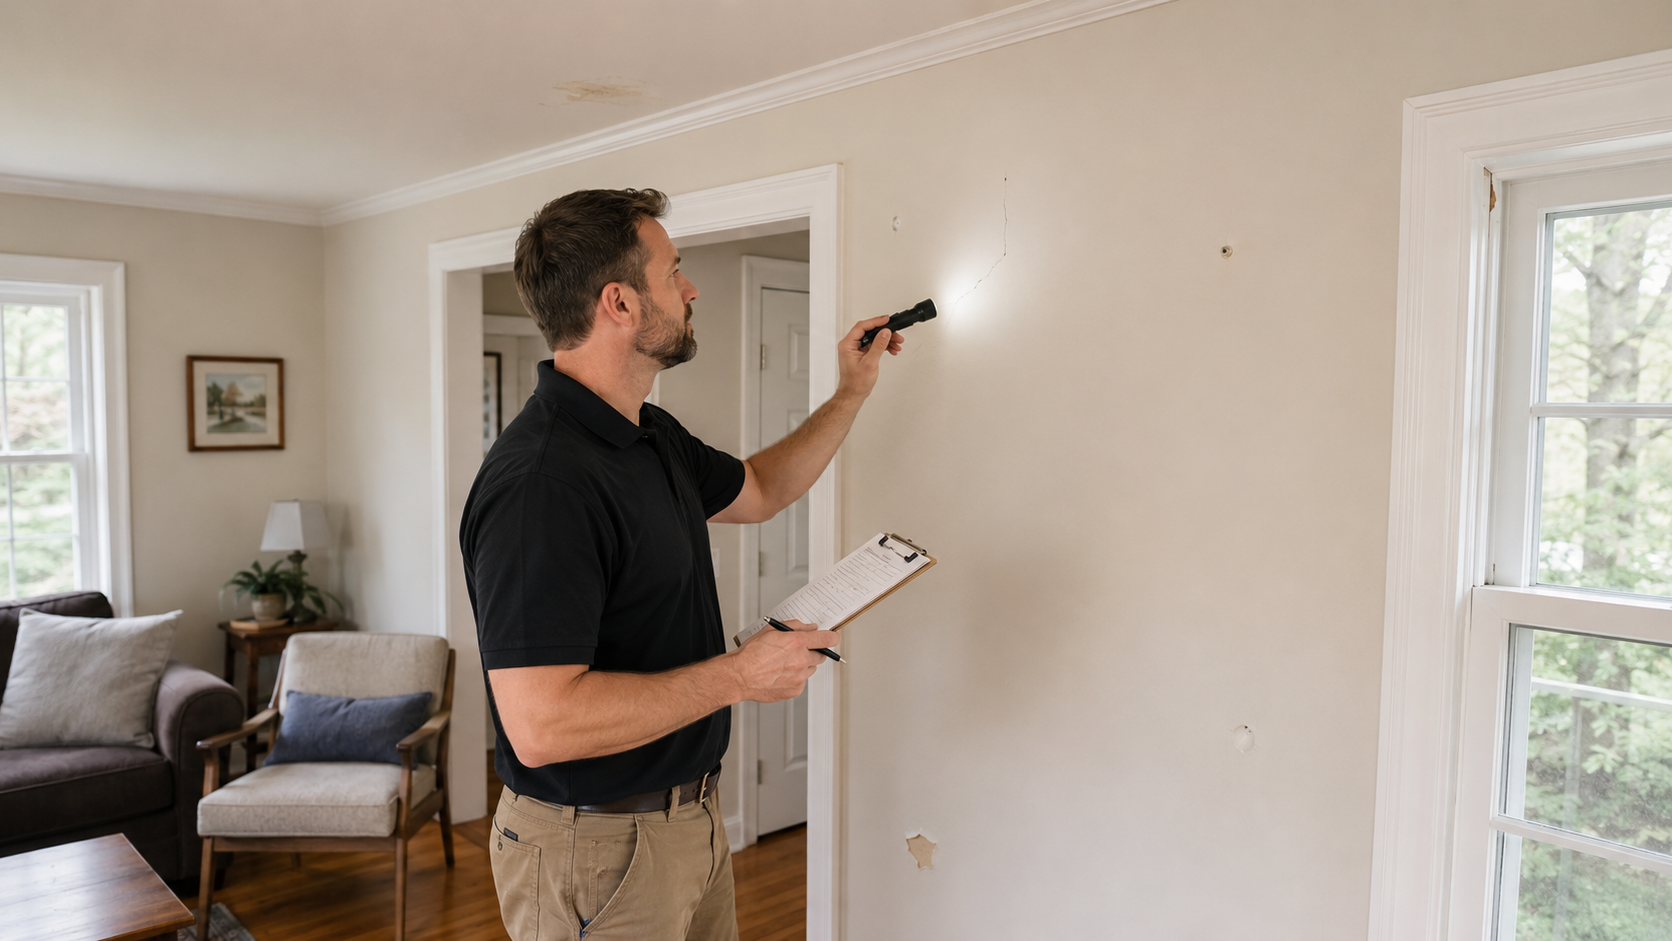 Step 1: Evaluate the Room and Painted Surfaces
Every interior painting project begins with a complete evaluation of the room. The walls, ceilings, baseboards, doors, window casings, and other painted surfaces are inspected for cracks, holes, stains, loose paint, damaged drywall, failed caulk, and previous application problems. Identifying these conditions before work begins makes it possible to select the correct repairs, primers, and coatings for the project.
 Step 2: Define the Scope of Work
The next step is determining exactly what the project will include. This may involve the ceilings, walls, trim, doors, closets, windows, built in features, or a combination of surfaces. Colors, paint finishes, necessary repairs, number of coats, and project expectations should be established before materials are ordered or preparation begins. A clearly defined scope helps the entire project remain organized and prevents important details from being overlooked.
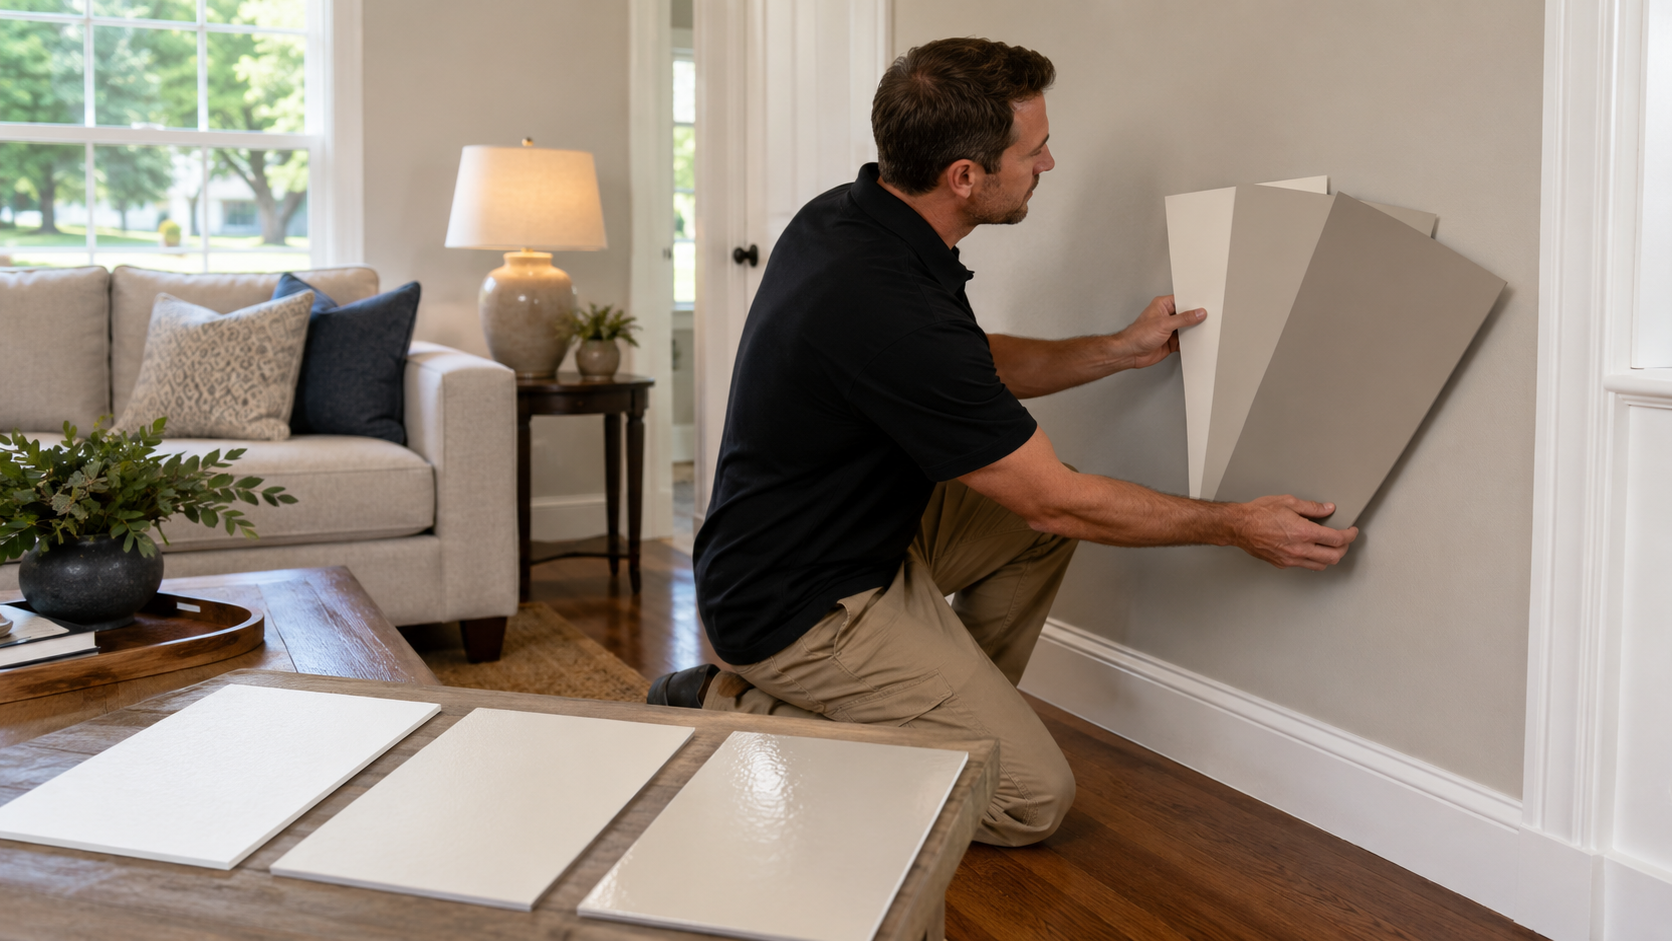 Step 3: Select the Colors and Paint Finishes
Paint colors should be considered alongside the flooring, furniture, trim, natural light, artificial lighting, and colors used in adjoining rooms. The finish must also be appropriate for the surface and how the room is used. Ceiling paint, wall paint, and trim enamel perform differently and should be selected accordingly. Our guide to interior paint color and psychology explains how color can influence mood, energy, focus, appetite, and the overall experience of a room.
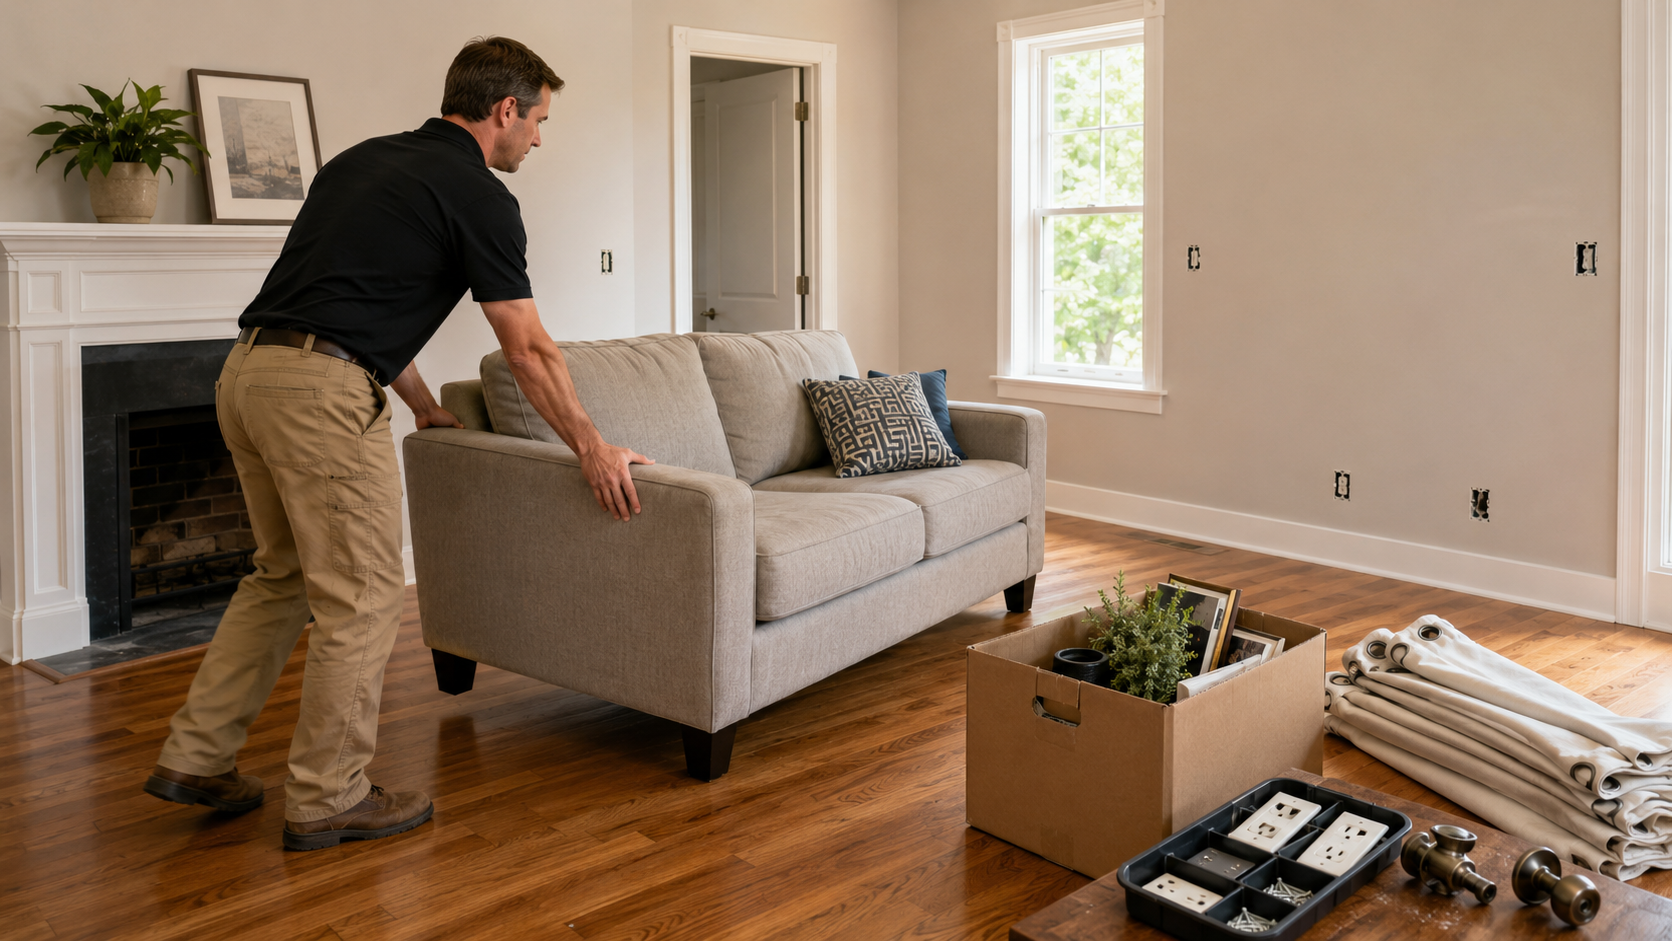 Step 4: Prepare and Organize the Room
Furniture, decorations, curtains, and personal belongings are removed whenever possible. Large furniture that must remain in the room is moved away from the walls and carefully covered. Outlet covers, switch plates, window treatments, and removable hardware are taken down so every surface can be prepared and painted without leaving visible gaps or rough edges around these items.
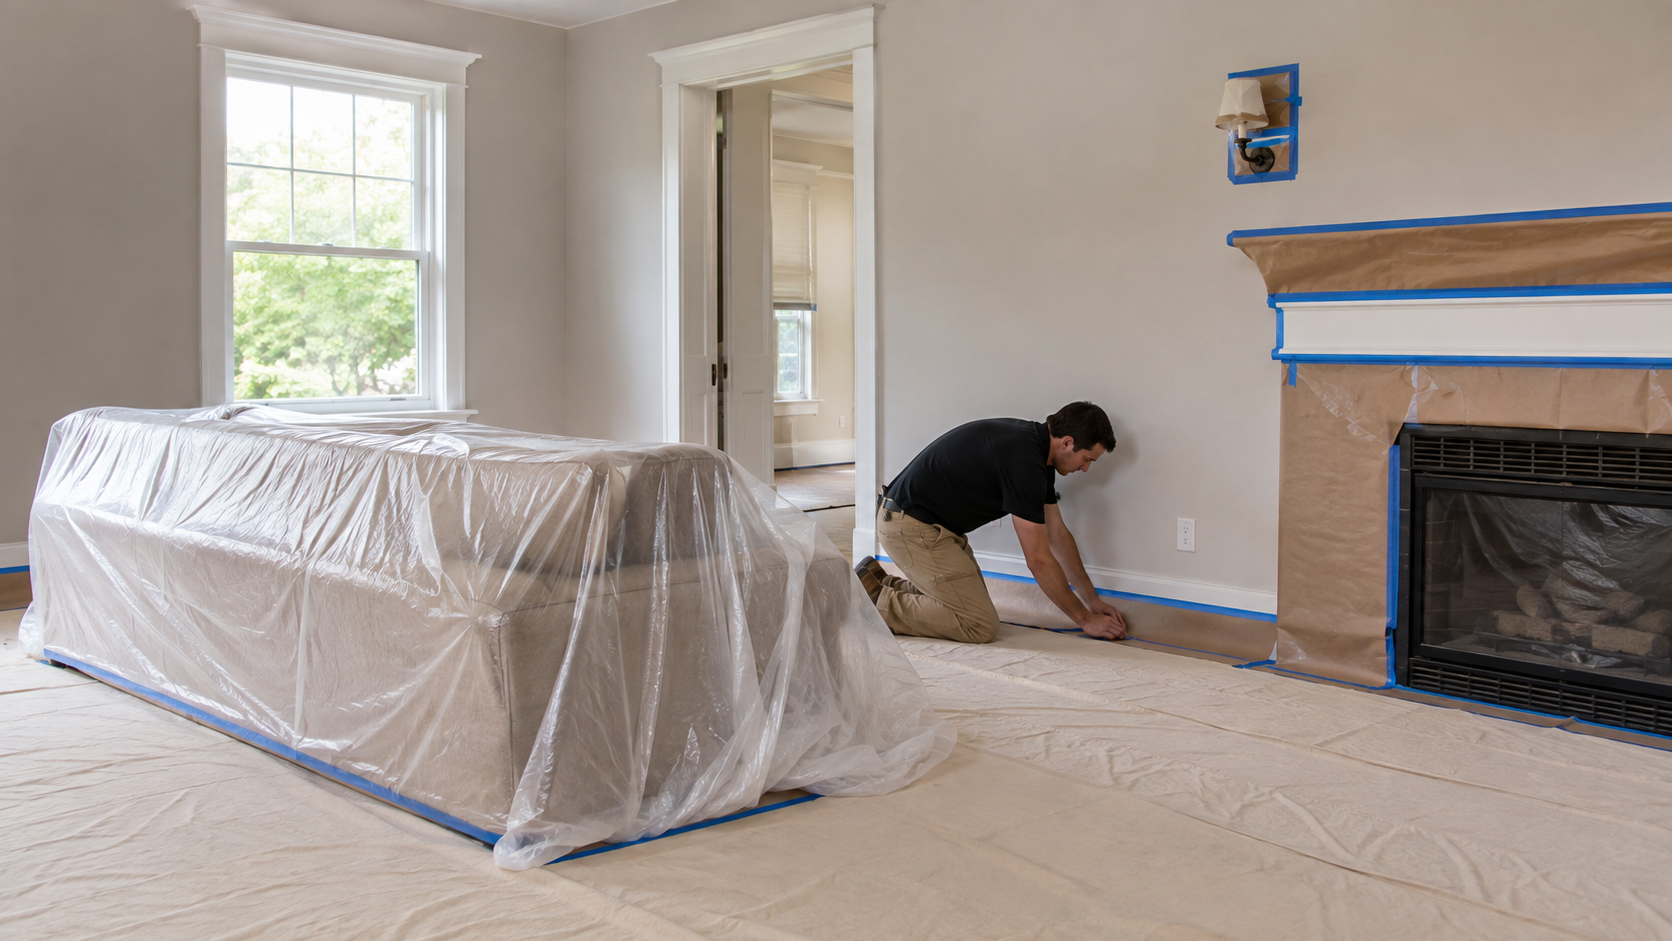 Step 5: Protect Floors, Furniture, and Fixtures
Floors, remaining furniture, countertops, cabinets, fixtures, and other surfaces that are not being painted must be thoroughly protected. Drop cloths, plastic, masking paper, and painter’s tape are placed according to the needs of the room. Proper protection controls paint splatter, sanding dust, and repair materials while helping maintain a clean and orderly work environment.
 Step 6: Repair Drywall and Surface Damage
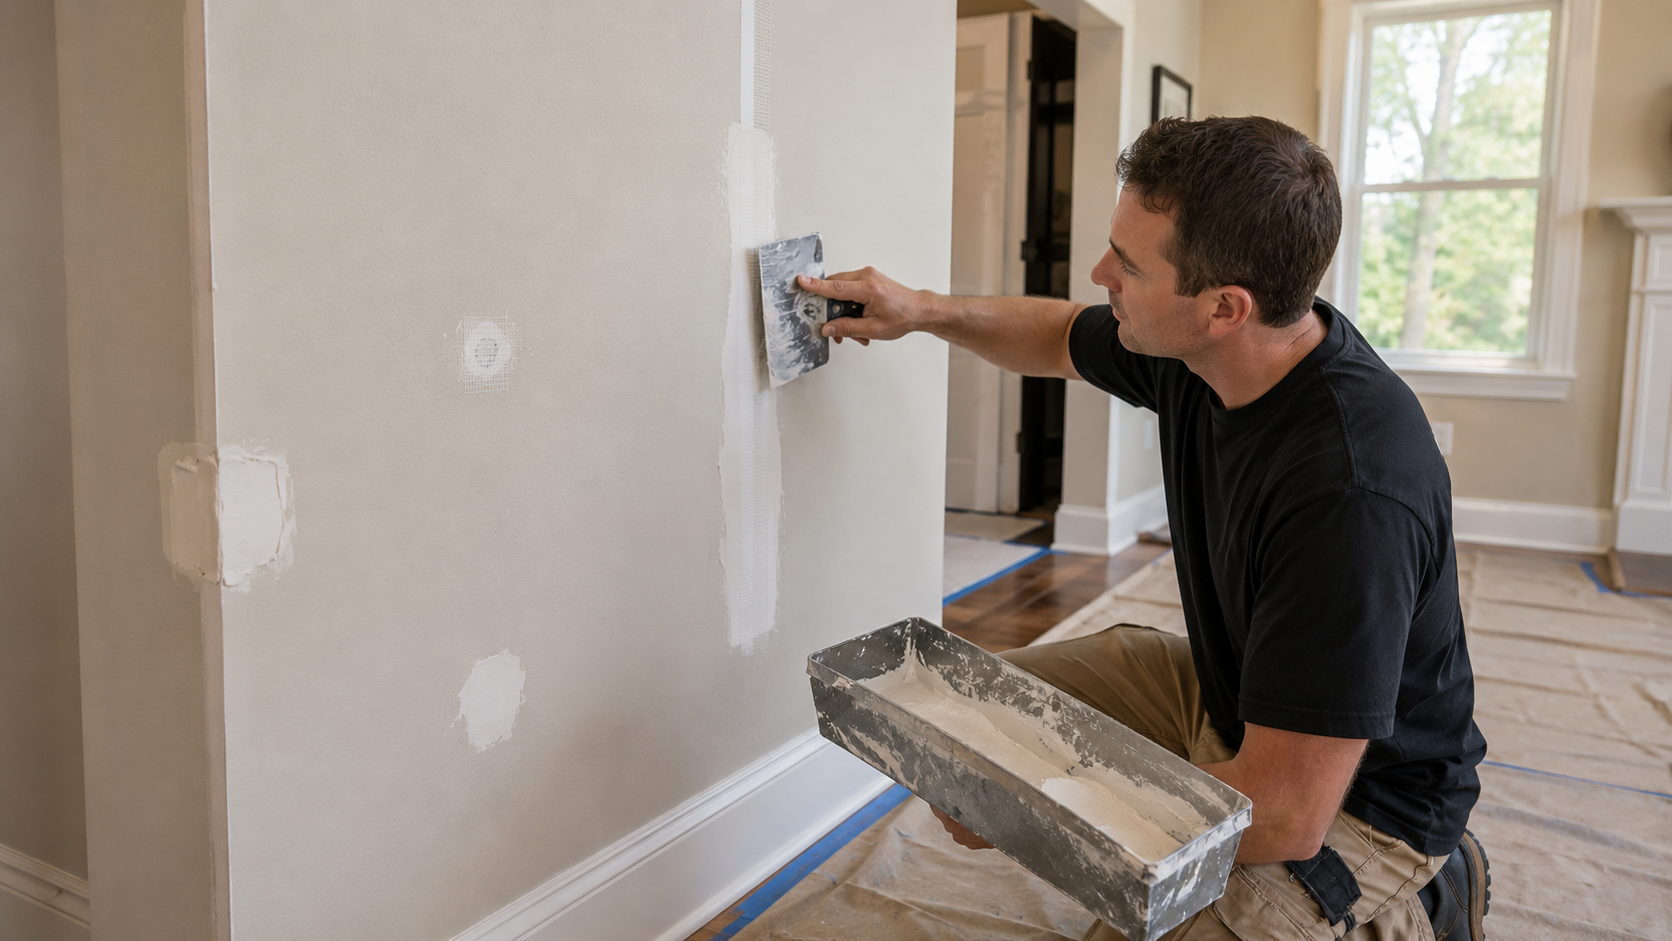
Nail holes, dents, cracks, damaged corners, visible seams, and other surface defects are repaired using materials appropriate for the type and extent of the damage. Loose material is removed, repairs are properly secured, and compound is applied in controlled layers until the surface is restored. When damage is more extensive, professional drywall repair services may be required to rebuild the area and blend it into the surrounding wall or ceiling.
 Step 7: Sand and Refine the Surfaces
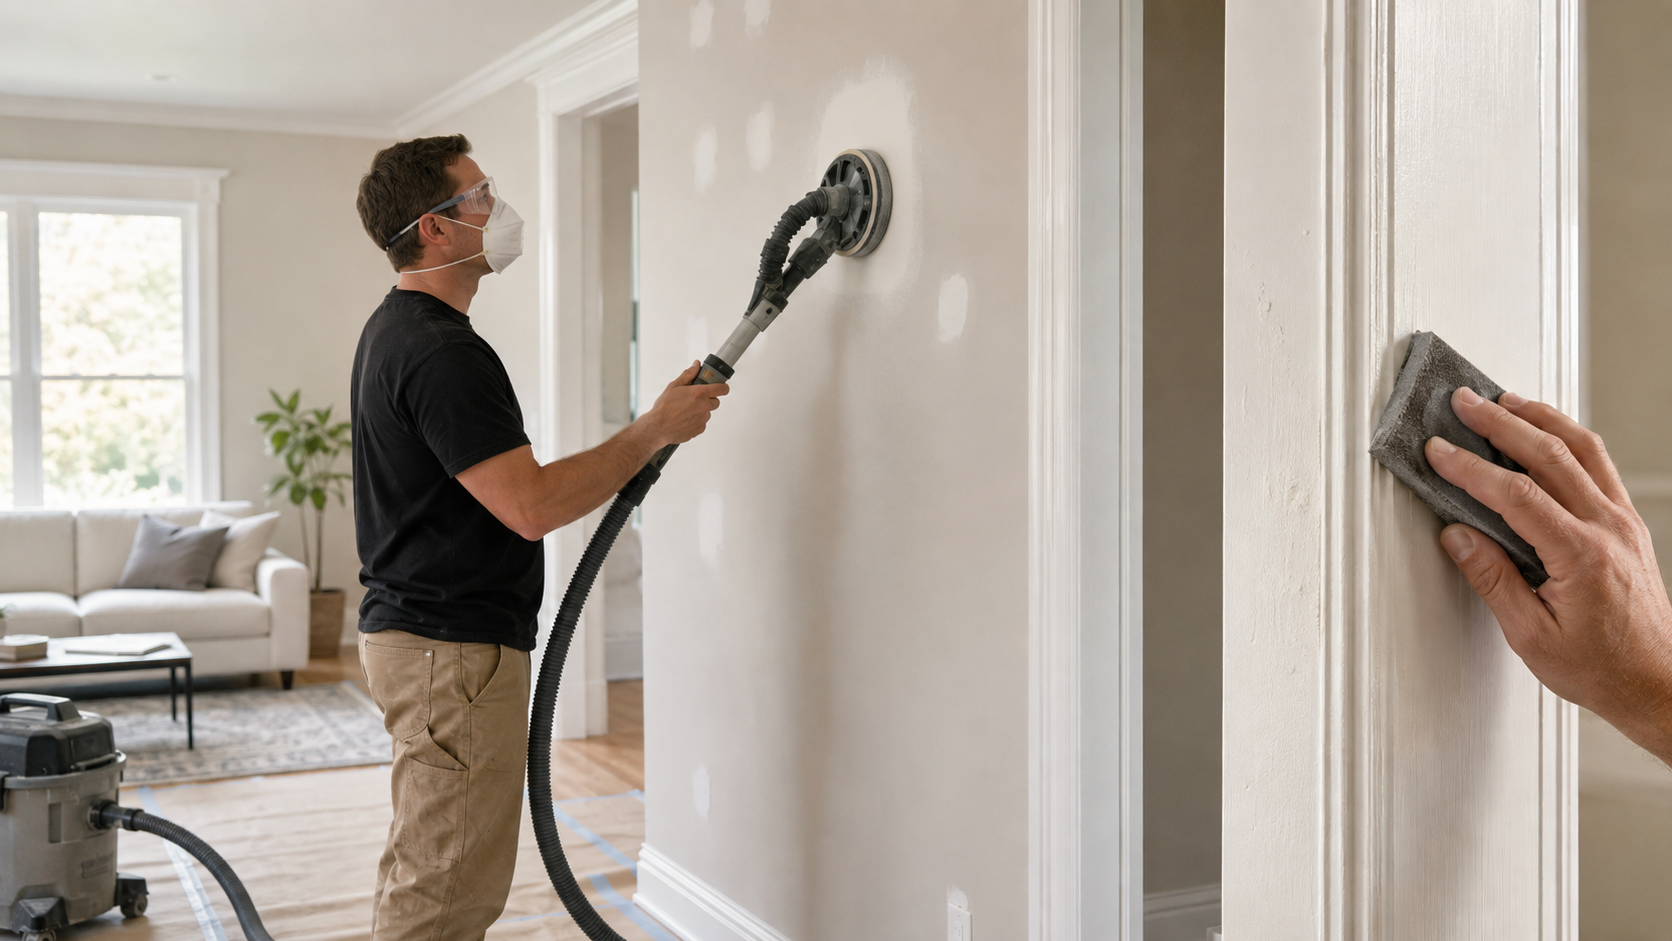
Drywall repairs, rough areas, old drips, raised edges, and other imperfections are sanded until the surfaces are smooth and consistent. Previously painted trim may also be sanded to reduce existing brush marks, remove surface defects, and promote proper adhesion. Sanding is not simply a repair step. It helps create the refined foundation required for paint to appear smooth rather than emphasizing flaws beneath the finish.
 Step 8: Clean the Surfaces and Remove Dust
All sanding dust must be removed before primer, caulk, or paint is applied. Walls and trim are also cleaned where grease, smoke residue, dirt, or other contaminants are present. Kitchens, bathrooms, hallways, and frequently touched areas often require additional cleaning. Coatings cannot adhere properly to dirty or dusty surfaces, so everything must be clean and completely dry before the project continues.
 Step 9: Caulk Gaps Around Trim and Woodwork
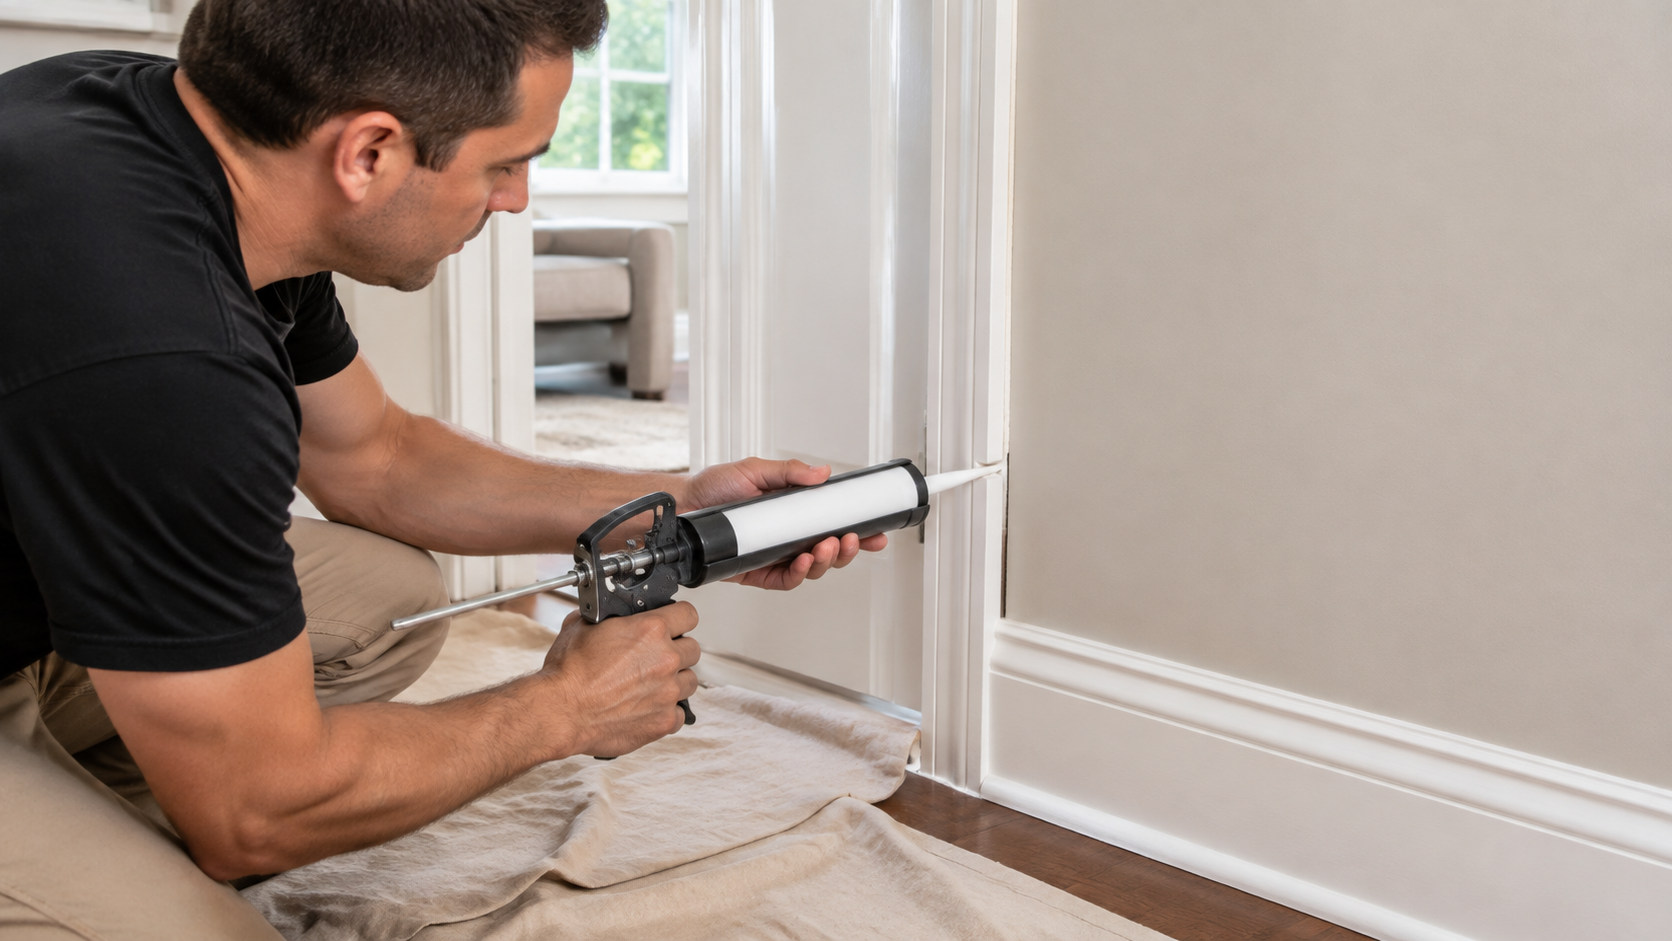
Open joints around baseboards, door frames, window casings, crown molding, and other painted woodwork are filled with paintable caulk. This closes dark gaps and creates cleaner transitions between adjoining surfaces. Caulk must be applied carefully and shaped smoothly because excessive material or poorly finished joints may remain visible through the final paint.
 Step 10: Prime Bare, Repaired, or Problematic Areas
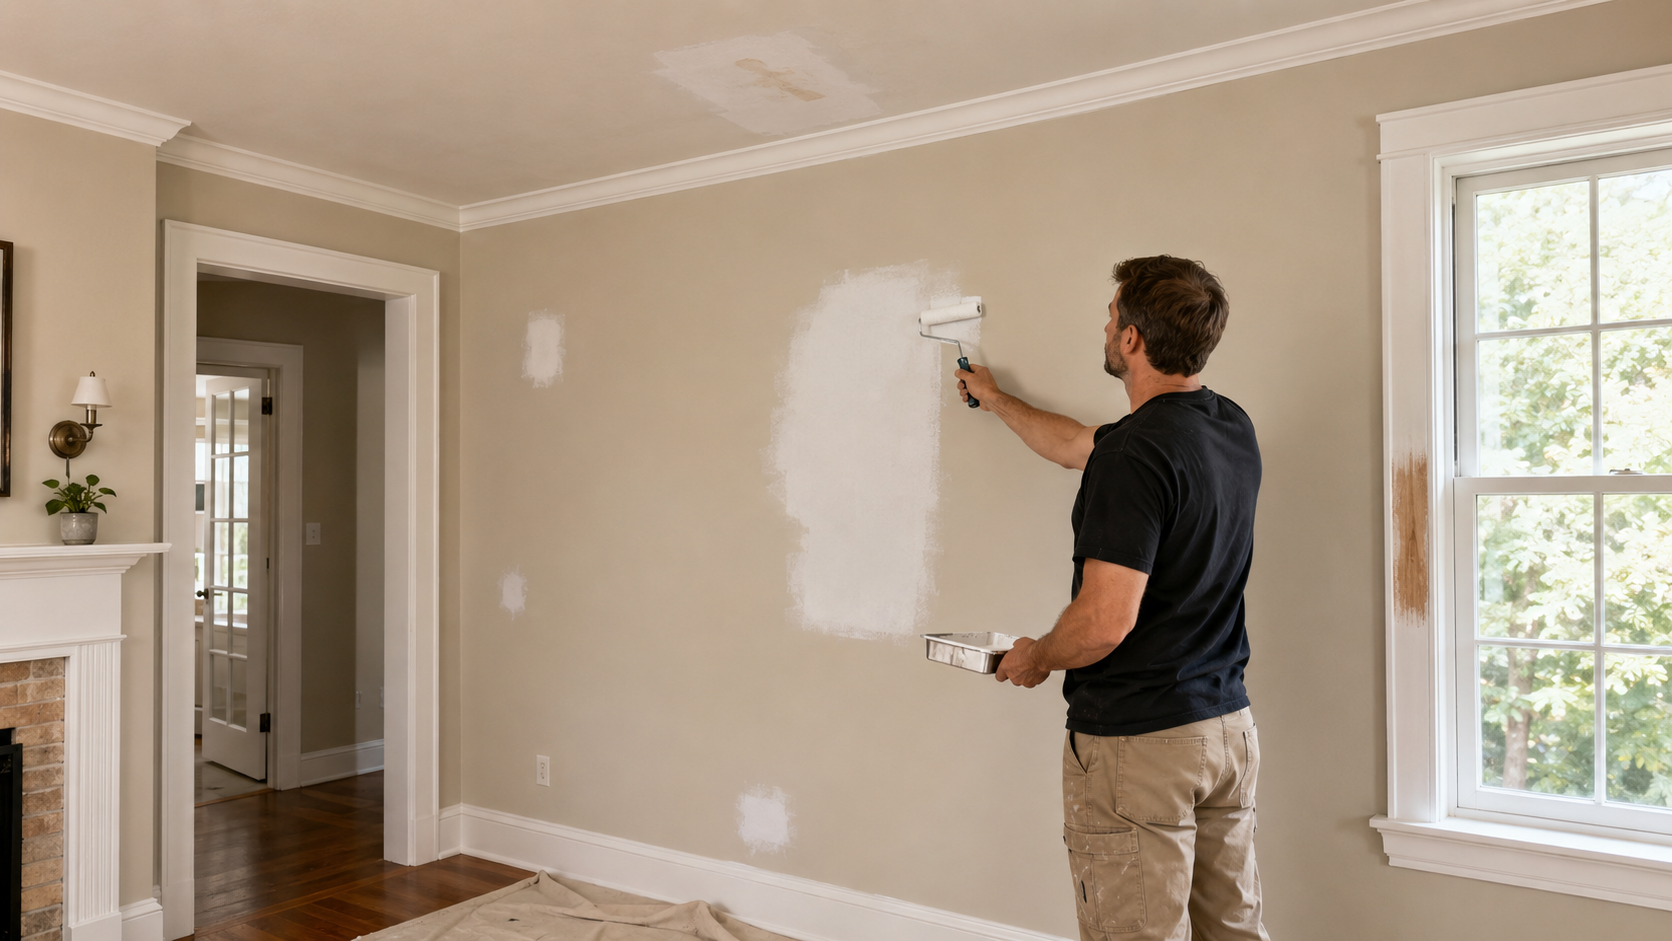
Primer is applied to bare drywall, patched areas, unfinished wood, stains, major color changes, and surfaces where adhesion could be a concern. Some projects only require spot priming, while others may need complete priming to create a consistent foundation. The correct primer prevents repairs and stains from showing through while helping the finish coats develop uniform color, sheen, and adhesion.
 Step 11: Paint the Ceiling
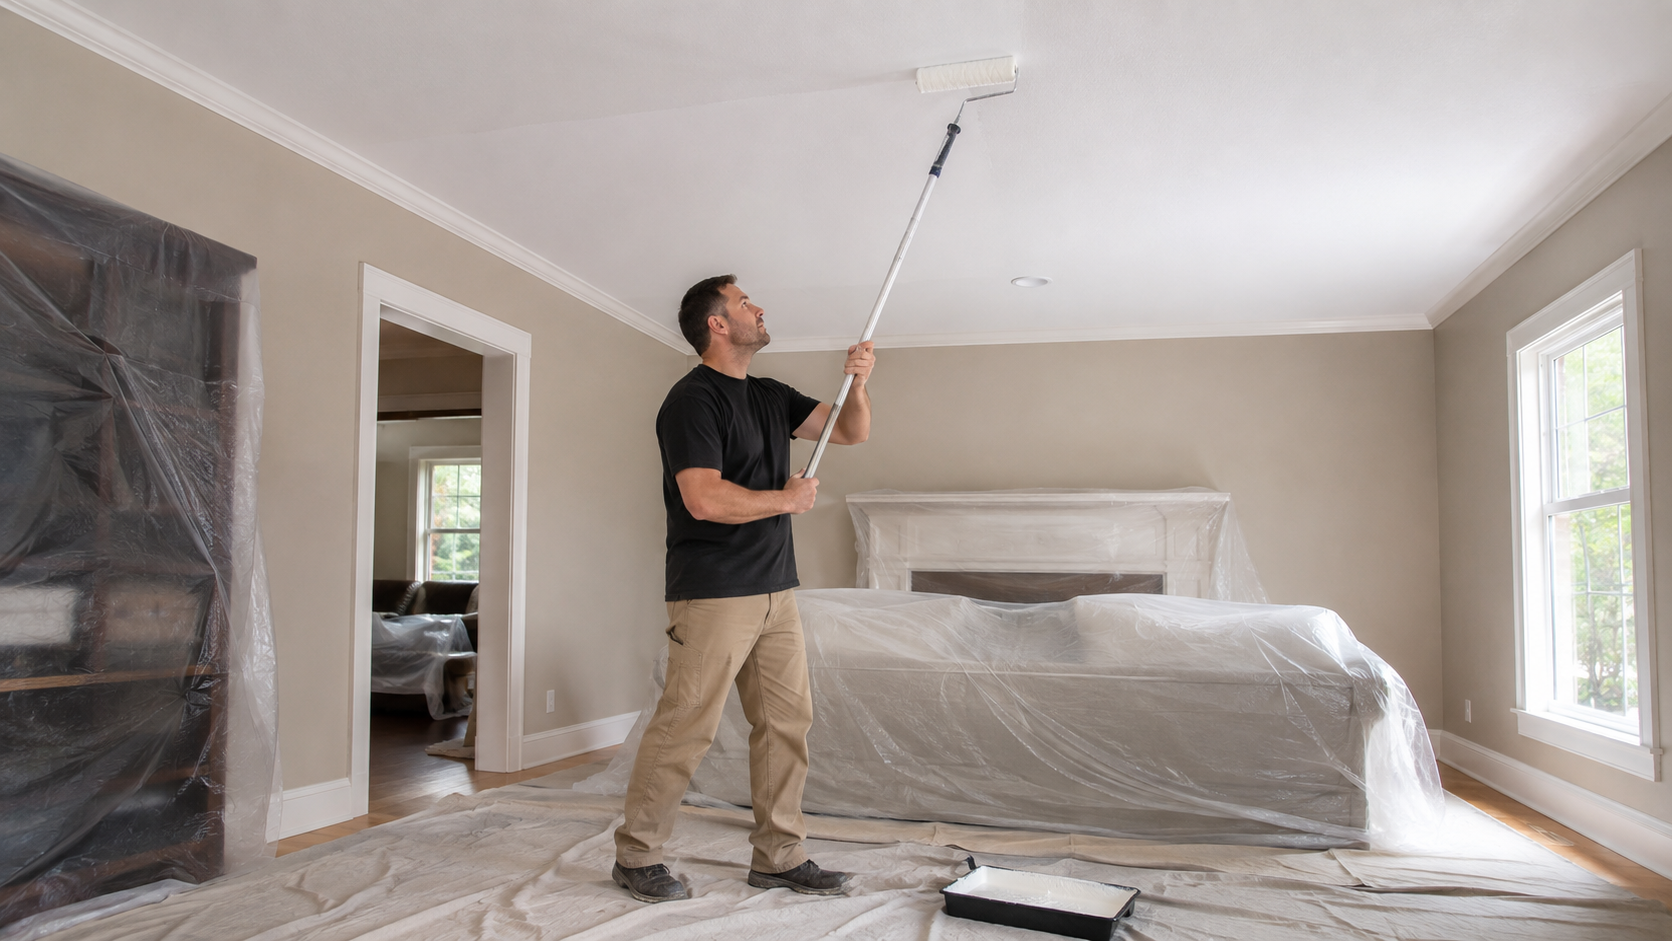
The ceiling is painted before the trim and walls so any splatter or overlap can be corrected during the remaining stages. Edges are carefully cut in, and the main surface is rolled while maintaining a wet edge and consistent direction. Proper roller selection, paint distribution, and lighting are important because ceilings can easily reveal lap marks, missed areas, and changes in sheen.
 Step 12: Paint the Trim and Doors
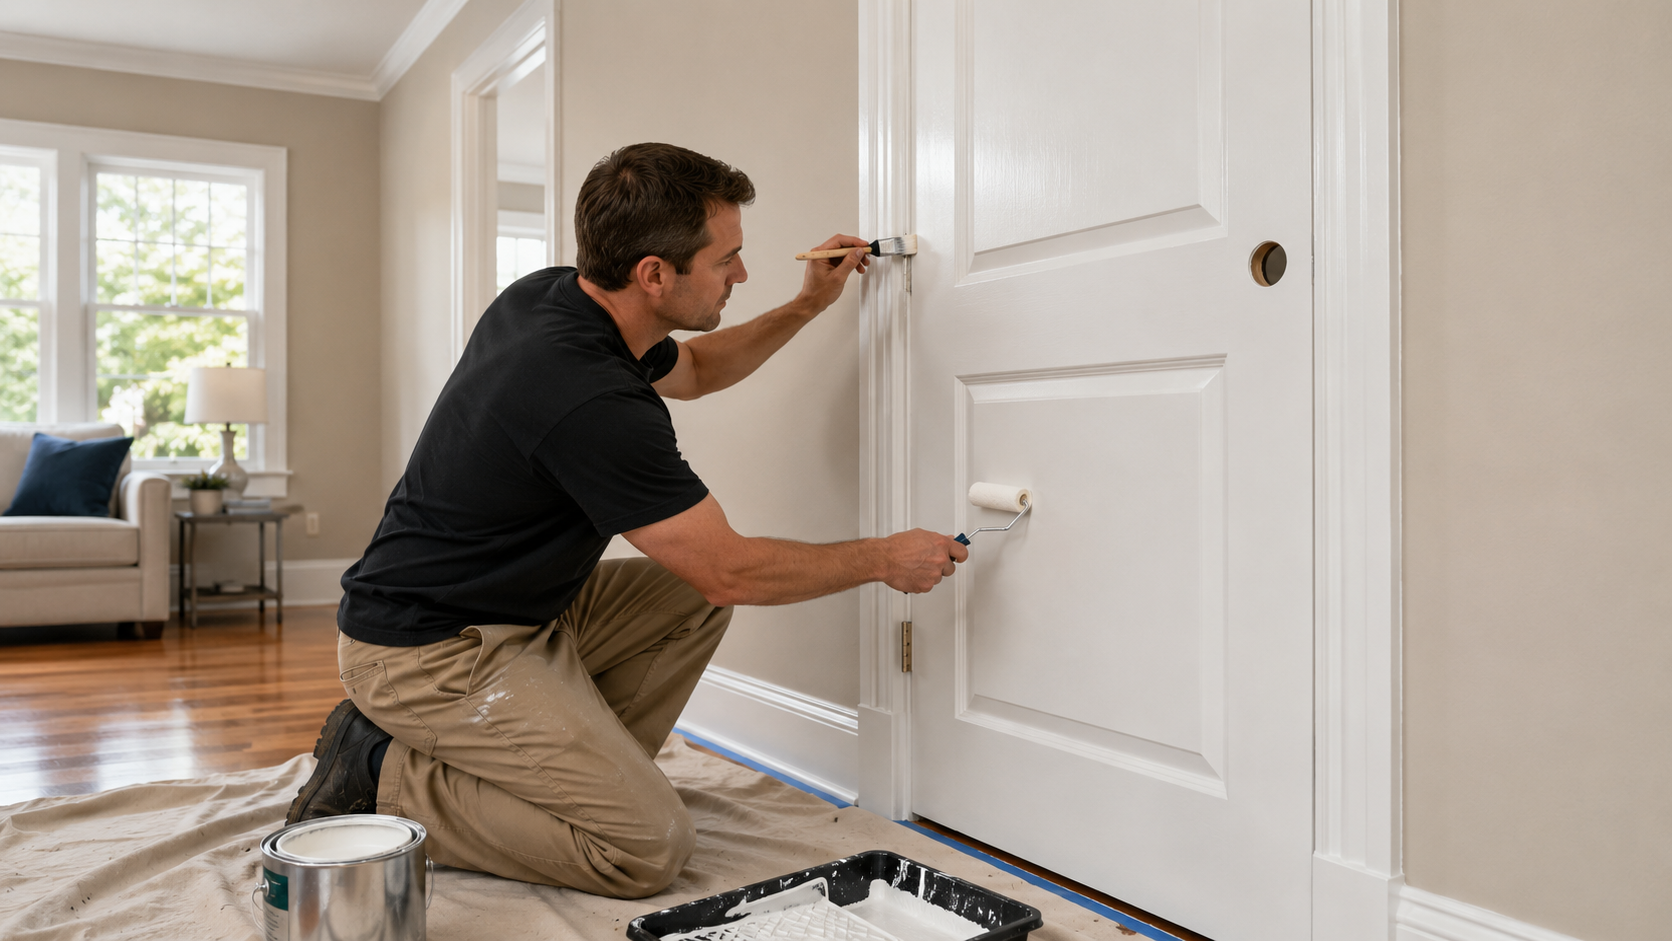
Once the ceiling is complete, the baseboards, window casings, door frames, doors, and other woodwork are painted with a durable trim enamel. The coating is applied in thin, controlled layers to reduce brush marks, drips, sagging, and heavy buildup around detailed areas. Between coat preparation may be needed to maintain a smooth finish. Professional trim painting services require greater control and precision than standard wall painting because every edge and surface transition remains highly visible.
 Step 13: Allow the Trim Enamel to Dry
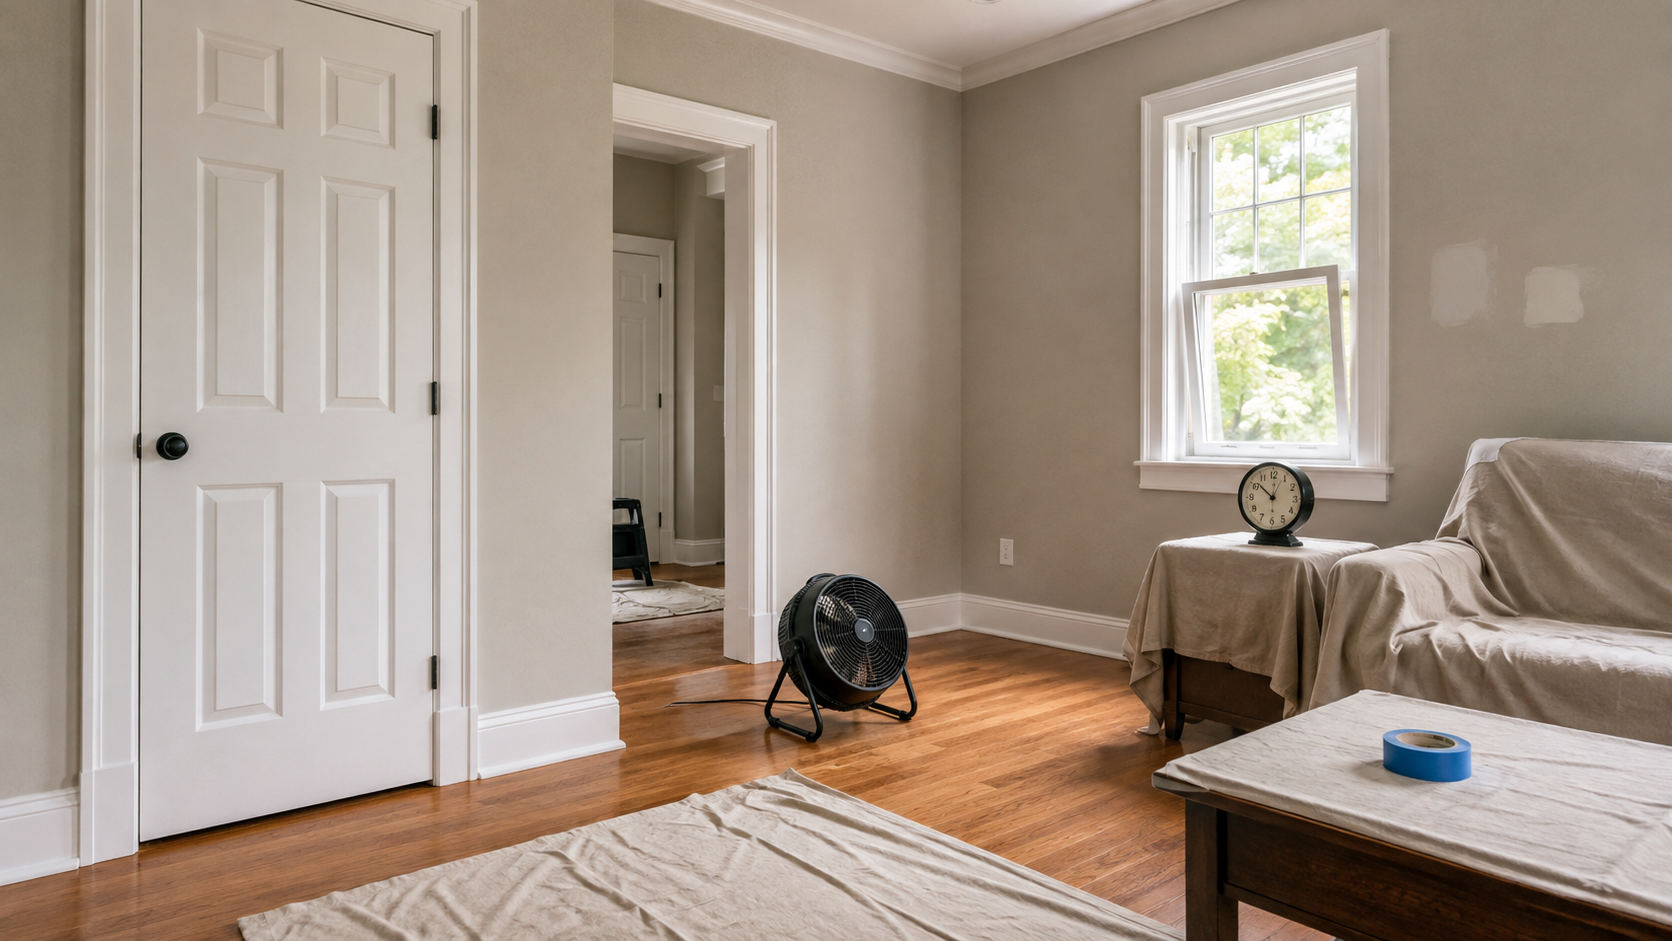
The trim enamel must be given enough time to dry and harden before it is taped for wall painting. Applying tape too soon can leave impressions in the finish or pull away paint when the tape is removed. Drying time depends on the product, temperature, humidity, ventilation, and number of coats. Allowing the finish to develop properly supports cleaner lines and protects the work already completed.
 Step 14: Paint the Walls Last
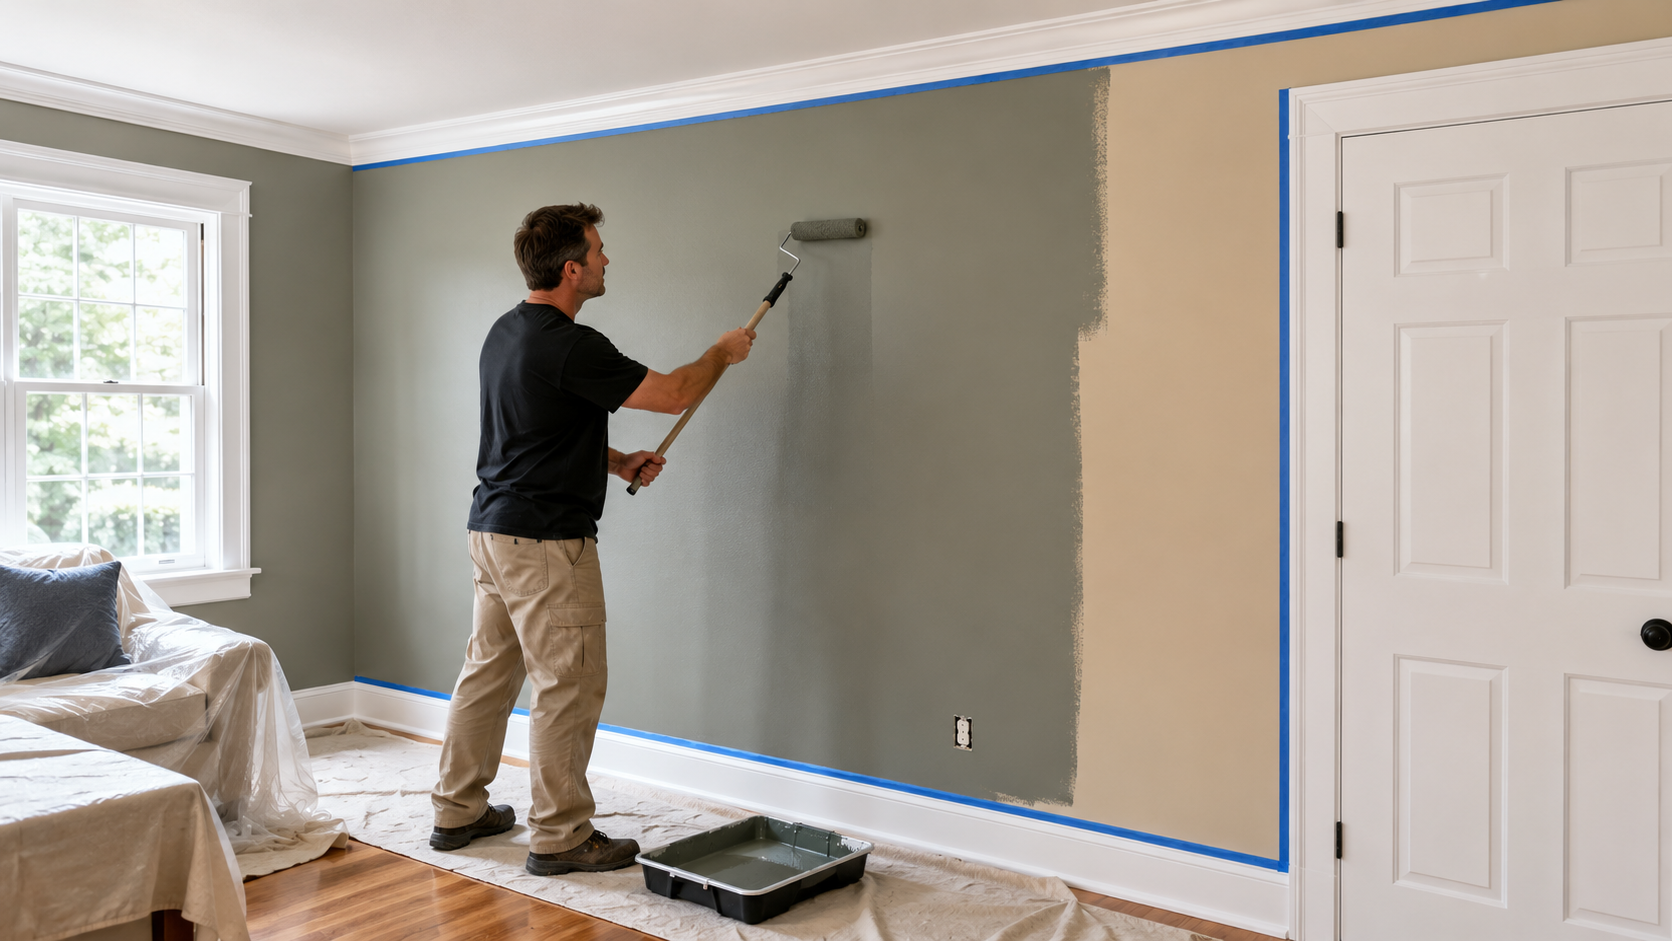
The walls are painted last so clean lines can be created where the wall color meets the finished ceiling and trim. Edges are carefully cut in or masked, and the main wall surfaces are rolled in manageable sections while maintaining a wet edge. Paint must be distributed evenly from top to bottom to prevent heavy areas, roller lines, and inconsistent texture. Two full coats are generally required for consistent color depth, coverage, washability, and long term performance.
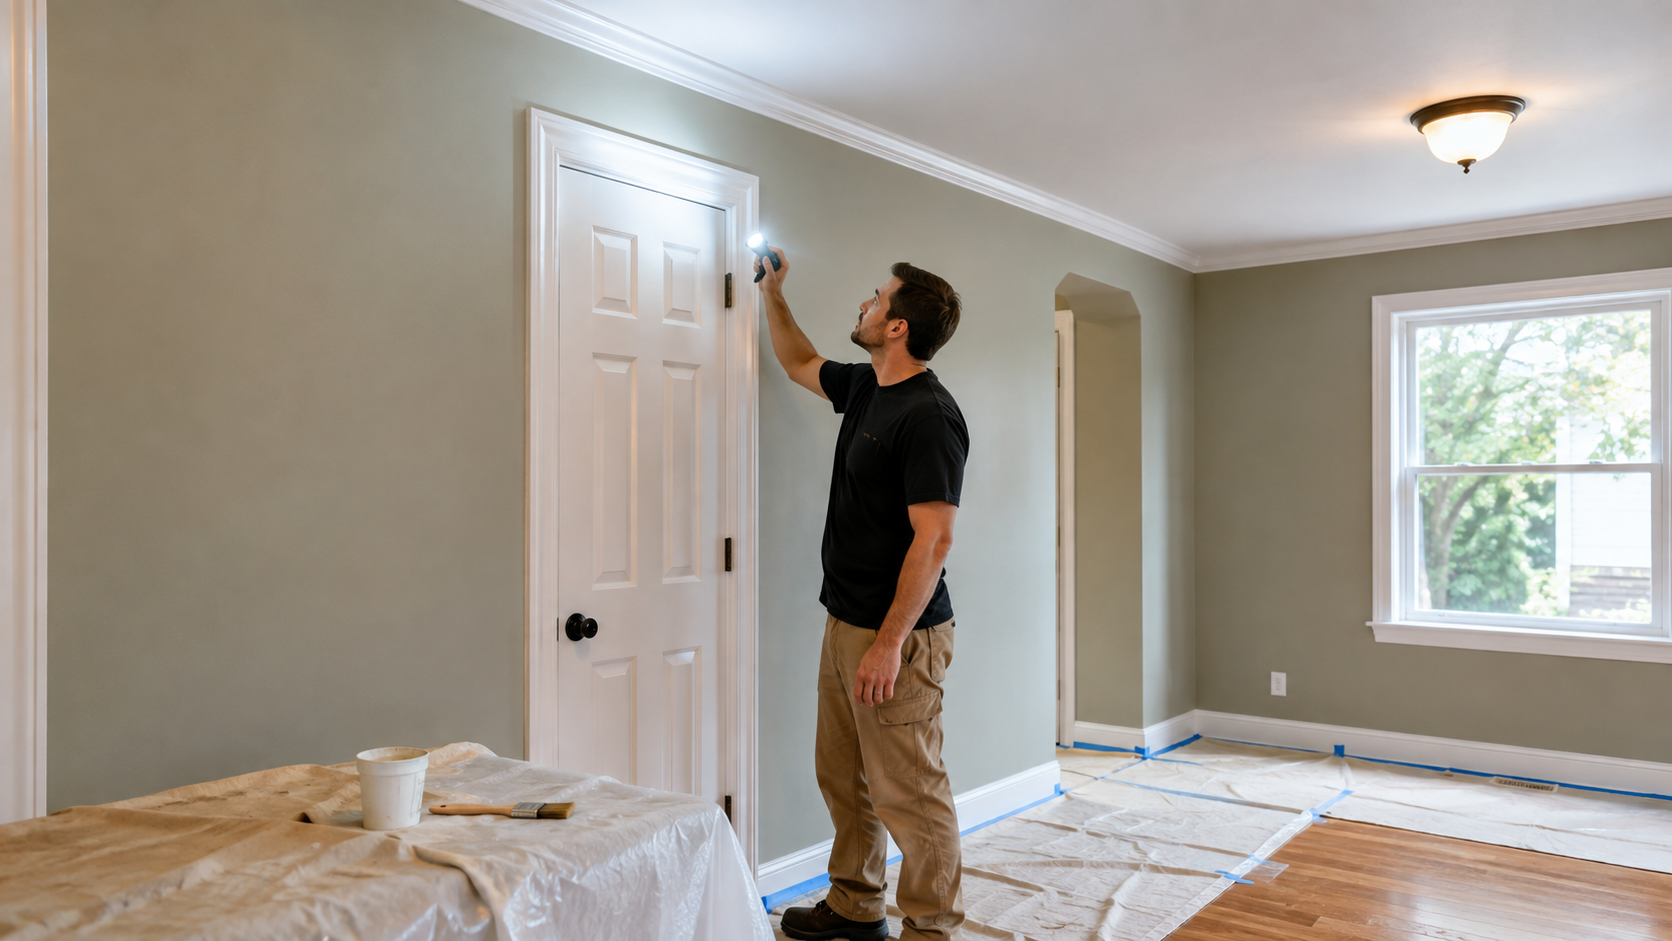 Step 15: Inspect the Completed Finish
After the paint has dried, the room is inspected under natural and artificial lighting. The ceilings, walls, trim, corners, repairs, and color transitions are reviewed for uniform coverage and finish quality. Thin areas, missed spots, paint splatter, rough edges, and other imperfections are corrected before the protection is removed and the project is considered complete.
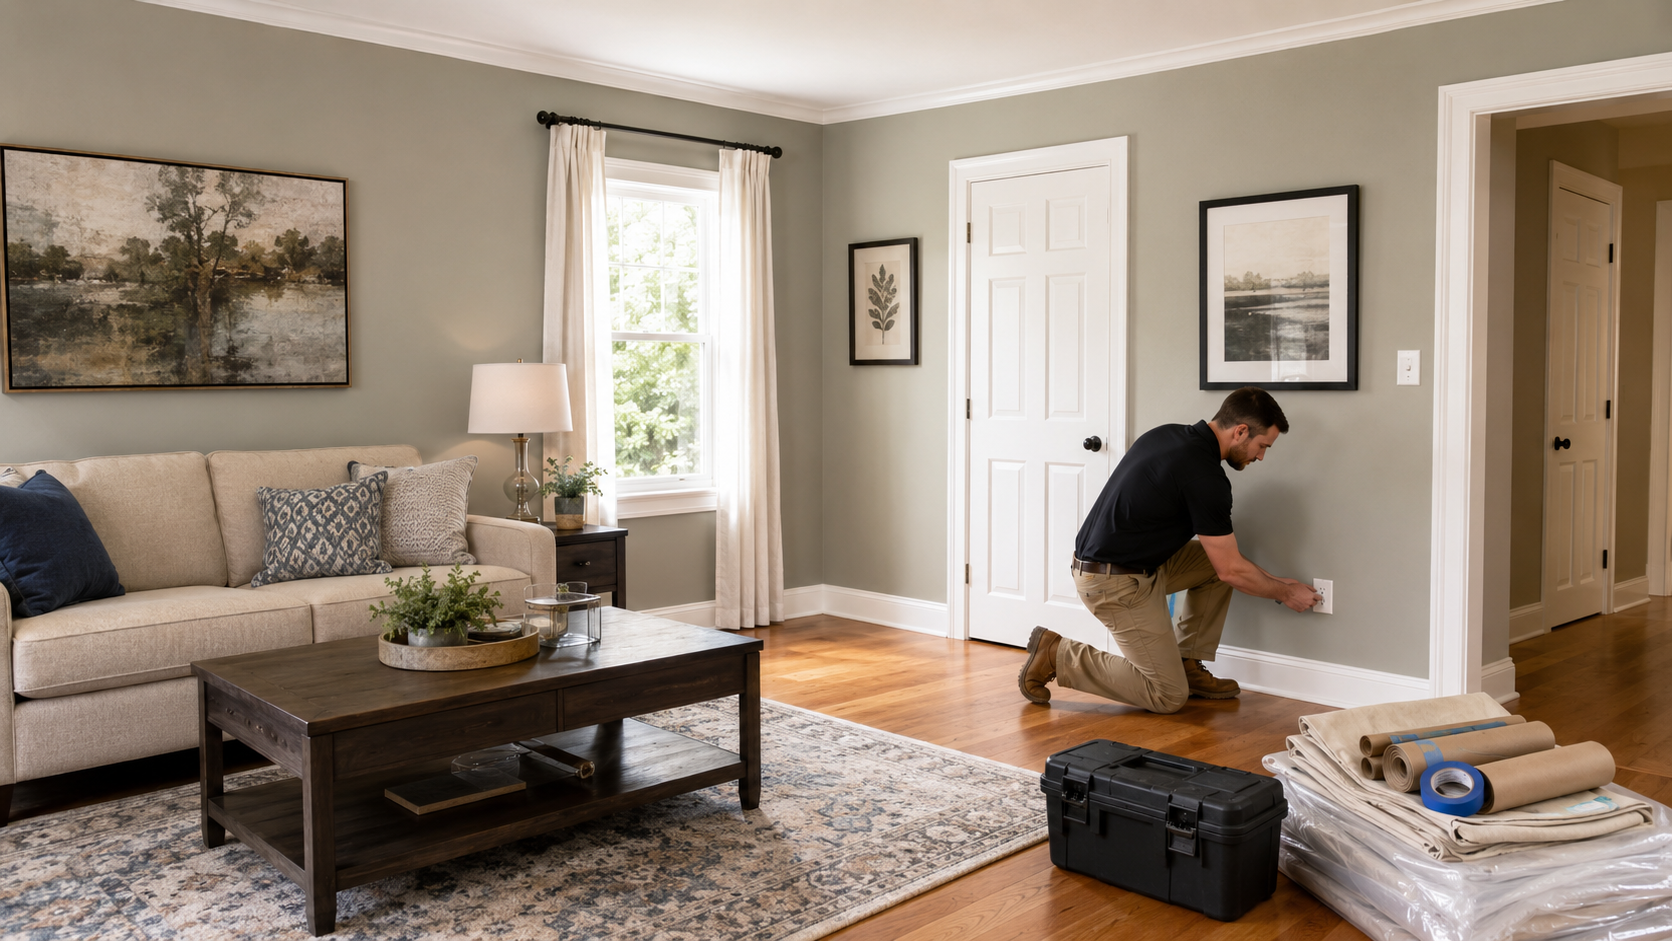 Step 16: Remove Protection and Restore the Room
Tape, plastic, masking paper, and drop cloths are carefully removed without damaging the new finish. Outlet covers, switch plates, window treatments, and removed hardware are reinstalled once the paint has dried sufficiently. The room is cleaned, tools and materials are removed, and furniture is returned when it is safe to do so.
Why the Interior Painting Process Matters
Each stage of the interior painting process affects the next. Paint cannot conceal poor repairs, contamination, rough surfaces, or incomplete preparation. A professional result comes from building the finish correctly, beginning with evaluation and protection and continuing through repairs, preparation, priming, and controlled application. You can view examples of completed work in our painting project gallery or schedule an onsite consultation to discuss your interior painting project.